Tuesday, November 23, 2010

Birthday Cake Failure!

Happy birthday to meeee... Last Friday.

I haven't written a post in awhile because I have had family in town which was loads of fun. We celebrated Thanksgiving last Friday since me and Colin have to work on the actual day of Thanksgiving... I cooked my first Thanksgiving dinner complete with a Turkey and it didn't turn out half bad.

This is the birthday cake that I made for my sister and I. Her birthday is the day after mine so we just had one cake. Now.. I had a lot planned for this cake. There was going to be a lot of detail. But... Cut me some slack, I was busy! Cleaning, cooking, and laundry.. That is no joke! It is hard work when you let it all pile up like I had lately. :)


Remember the teal and purple fondant I made in the last post? Well I twisted it together to give the top layer a tie-dye look. It looked insanely good together, the colors were awesome... And then I rolled it too much with my rolling pin and turned it into one color which is what you see on the top tier.
The bottom tier is a tie-dye pink and yellow which I didn't roll too much lol, you can still see both colors!

Overall, I consider this cake to be a kitchen failure. The piped on flowers were done last minute because I didn't have time to finish the fondant peace signs with petal dust. 

Oh well, lessons learned.

At least it tasted good :)
I hope everyone has a great Thanksgiving, we sure did!

Thursday, November 11, 2010

Marshmallow Fondant

How many times have you heard someone say that they don't like fondant? I heard it countless times before I started making my own. Fondant gets a bad rep because store bought fondant is usually tasteless and stale. This is not the case with homemade Marshmallow Fondant though. I love making my own fondant. It is way cheaper and the taste blows all of the store bought brands out of the water. I mean, you know that store bought fondant isn't tasty when you can't even buy it at most superstores. You have to go to a craft store most of the time just to find it! A lot of people think that it is hard to make but honestly, it isn't at all and it only takes a few minutes.
You will need:
1 Box Powdered Sugar
1 Bag Mini Marshmallows
Food Coloring

But most importantly:
Oh yes, you need shortening. Lots of it.

Rub the shortening into the bowl and all over your work area. All over. You can't have enough. Seriously.

Put the marshmallows in the greased bowl with 2 tablespoons of water and microwave at thirty second intervals until it looks like this:
You can also add a few teaspoons of flavoring. I usually only add Vanilla extract because even though a lot of people seem to love almond extract in this,  if you are making a cake for a large group, you don't know if someone has an allergy to nuts or not. Vanilla gives this a really nice flavor anyway, pretty delicious for fondant.

Pour the whole box of powdered sugar on your greased workspace. You should really sift the powdered sugar first but if you forget like I always do, it will be fine. The lumps of sugar will be worked out by the end anyway.

Pour the melted marshmallow mixture right on top of the powdered sugar.


STOP! WARNING! RUB SHORTENING ALL OVER YOUR HANDS! This will stick to your hands and when that happens, it isn't pretty. You can't have enough shortening on your hands for this step.
Now that you have shortening all over your hands and wrists, knead the dough until it forms a ball.


Now for the coloring. I needed two different colors so I separated the fondant into two different balls. If you are only making one color, add the food coloring to the melted marshmallow mixture before you pour it on the powdered sugar. That cuts down on the amount of time spent kneading later on.
Take a toothpick and dip it into your food coloring and then wipe off directly onto the fondant.
Knead until the color is consistent all through the ball of fondant.
A couple things make this easier.
1. Work quickly. If the fondant is still warm when you tint it, the color will spread easier.
2. Make sure you still have a lot of shortening on your hands. The shortening will help you get the consistent color that you are going for. It will also keep the coloring from staining your hands.. For days..

Since I am not doing anything with this fondant until tomorrow, I rubbed a little shortening all over each ball, wrapped them in plastic wrap and put them in air tight containers.

I found this recipe through a youtube video a long time ago. I can no longer find that video so I unfortunately cannot give credit to the person that I got my inspiration from. However, I do believe that Wilton also has this recipe on their website.


Wednesday, October 27, 2010

Pumpkin Whoopie Pies with Cream Cheese Filling

I know, I know, Pumpkin Whoopie Pies with Cream Cheese filling are on every blog right now... That doesn't mean that I don't want to try them! This was my first time ever making Whoopie Pies and I loved them! Loved. Loved. Love. DH also loved them and when I found out the recipe makes much more than I anticipated, everyone at work loved them! The cake part is so moist, light, and fluffy and the filling is so creamy. These ingredients and tastes work so well together. It is a marriage that was just meant to happen.
Yes, these pictures are still being taken with a iphone. Horrible, I know.
First you bake all of the cookie/cake parts.

Get a pastry bag filled with cream cheese filling ready while cookies cool...

Sandwich together...
Yum. Yum. Yum.

I used this recipe from allrecipes.com for the cake/cookie part and then this recipe from Martha Stewart for the cream cheese filling. I definitely think this is something I will be making every year. These would also be a lot of fun to make with my little sisters (ages 9, 7, 6, and 2) when I see them in a few weeks. Hopefully.

I should also mention that I saw a Whoopie Pie Pan at Williams-Sonoma yesterday but I don't think having an actual pan is necessary. If you are nervous about making them and having a pan would make you more comfortable, by all means, go for it, but I used a regular soup spoon and they all came out pretty uniform in sizes. They weren't perfect but that is okay by me.

:)


Tuesday, October 12, 2010

Spooky Sugar Cookies

First off, I should say that I know these pictures are really bad lol. My camera is broken so I have been taking pictures with DH's iphone. The picture quality definitely isn't the highest!
I couldn't decide is ghosts should have mouths or not. I tested it on one but I made it look like he is smiling. Not a spooky ghost thing to do lol.
Pumpkins!

I had my all time favorite sugar cookie recipe bookmarked and somehow it isn't there anymore. I searched allrecipes.com hoping to find a new favorite but honestly, these cookies were horrible. I had never used royal icing before so they were more for practice than anything but still, it would've been nice for them to taste good! Oh well, my search for the perfect sugar cookie recipe continues...


Sunday, October 10, 2010

Cupcake Timer

A few months ago DH and I were shopping for a suit jacket for him to wear to work. We decided to check out TJ MAXX and see if they had any good deals. While he checked out the jackets I wandered into the housewares section and found this guy:
A cupcake timer!

It was only six dollars but when DH is on a mission for something specific, there is no talking sense into him :) He couldn't understand why a cupcake timer was important when his favorite suit jacket had just been ruined and was forced to consider new ones. Well, things don't last at TJ MAXX and by the time I was able to get back there, it was gone. I thought "Well, my kitchen will never be complete, there is no way anyone else will have a cupcake timer". A bit dramatic? Perhaps, but that is not the point. :)

I don't know why I never thought to google it but today while in Blicks Art Supplies I saw cupcake stationary with a cupcake on it that looked exactly like this timer! That little timer instantly came back in my mind and I thought "What an excellent birthday present to me!" I came home and googled it and TA DAH, I found it. Granted, my birthday isn't until November 19 but I have found exactly what I need! DH is not the type of person that likes surprises for his birthday and he doesn't understand why anyone else would either so he prefers me to tell him what I want and he tells me what he wants. Romantic? Not exactly, but it is what we do. At least I know I won't ever get a present that I don't like.

He recently got me a Kitchen Aid Mixer so I would feel bad if I asked for something expensive so soon. I think this timer (and maybe the Beauty and the Beast Diamond Edition DVD) will be just perfect. Here is the link if you are interested.

Thursday, October 7, 2010

Muddy Buddies

This is one of the easiest treats to make. Especially when you are low on ingredients! 


The recipe is on the back of the Chex Mix Box.


Chex Mix
Chocolate Chips
Peanut Butter
Butter
Powdered Sugar.

That is all you need. They may look gross but I love them. A co worker was having a bad day so I made these really quickly right before a meeting, bagged some up, and took it to her. 

Confession: I also ate TONS of these while watching Grey's Anatomy tonight.

Ah well, hitting the gym hard tomorrow I guess. I hope it doesn't hit me back :)
Cheesy Jokes. They get me through. Lol.

Pumpkin Pie- First ever!

My baking day has been great so far. I made my first pie and pie crust ever. I used Pioneer Woman's pie crust recipe and the recipe on the back of the Libby Pumpkin Can. I looked it up online and it had some pretty great reviews, and now I see why.
To the pictures:

Workspace complete with Pioneer Woman's Cookbook.

Flour and Salt

Shortening added

After eggs and water added. It isn't pretty. I had a hard time getting it to not fall apart. Normal? I don't know.
Pumpkin Pie dry ingredients 

Pumpkin and evaporated milk
Poured into the crust. I must say, I knew I was going to love this pie because of the way it smelled. Oh My Gosh. It smelled divine.
The finished project. I accidentally spilled some of the filling onto the crust and thats why it looks burned on one part.
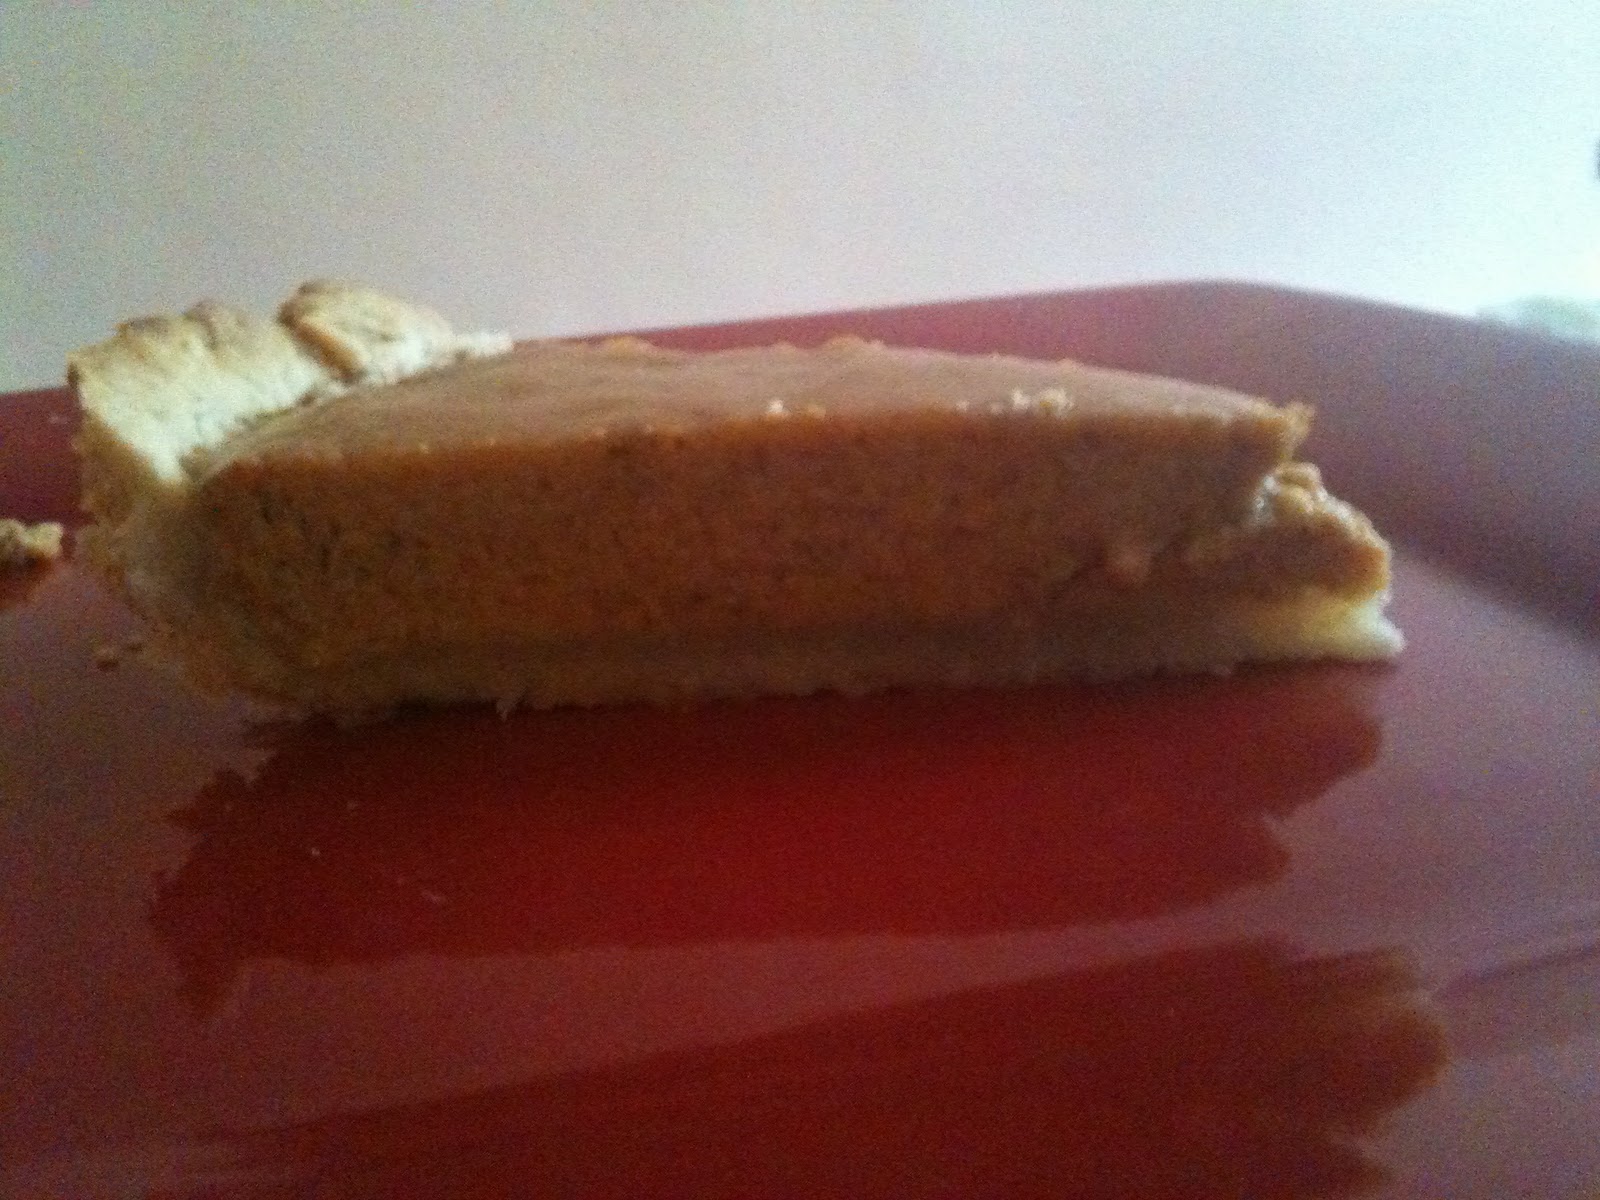
It was yummy. Plain and simple. I loved it. I think I will try a different pie crust next time though. It kept falling apart. I don't know if it was something I did or the recipe... I guess I will give it another try and see if maybe it was something I did. Martha Stewart has a recipe on her website for pie crust that I really want to try as well.

That is all for now. I may bake some more later but for now, Grey's Anatomy is about to be on. 

I have plans for sugar cookies with royal icing in the next post.


Related Posts Plugin for WordPress, Blogger...